TL;DR: Buying EVMOS and storing them is nice, but you’re leaving money on the table by doing that. The Evmos network has a couple of ways you can participate in and earn extra revenue on your EVMOS coins.
In this article, we’re gonna explore the best ways of putting your EVMOS to work and what’s required to make sure everything functions properly.
How do you mine Evmos (EVMOS)?
So, you have a PC that’s sitting idle and you want to put it to work.
You’ve scoured the internet and saw that one of the ways to earn more crypto would be through mining, but how does that work? Can you mine Evmos on your PC?
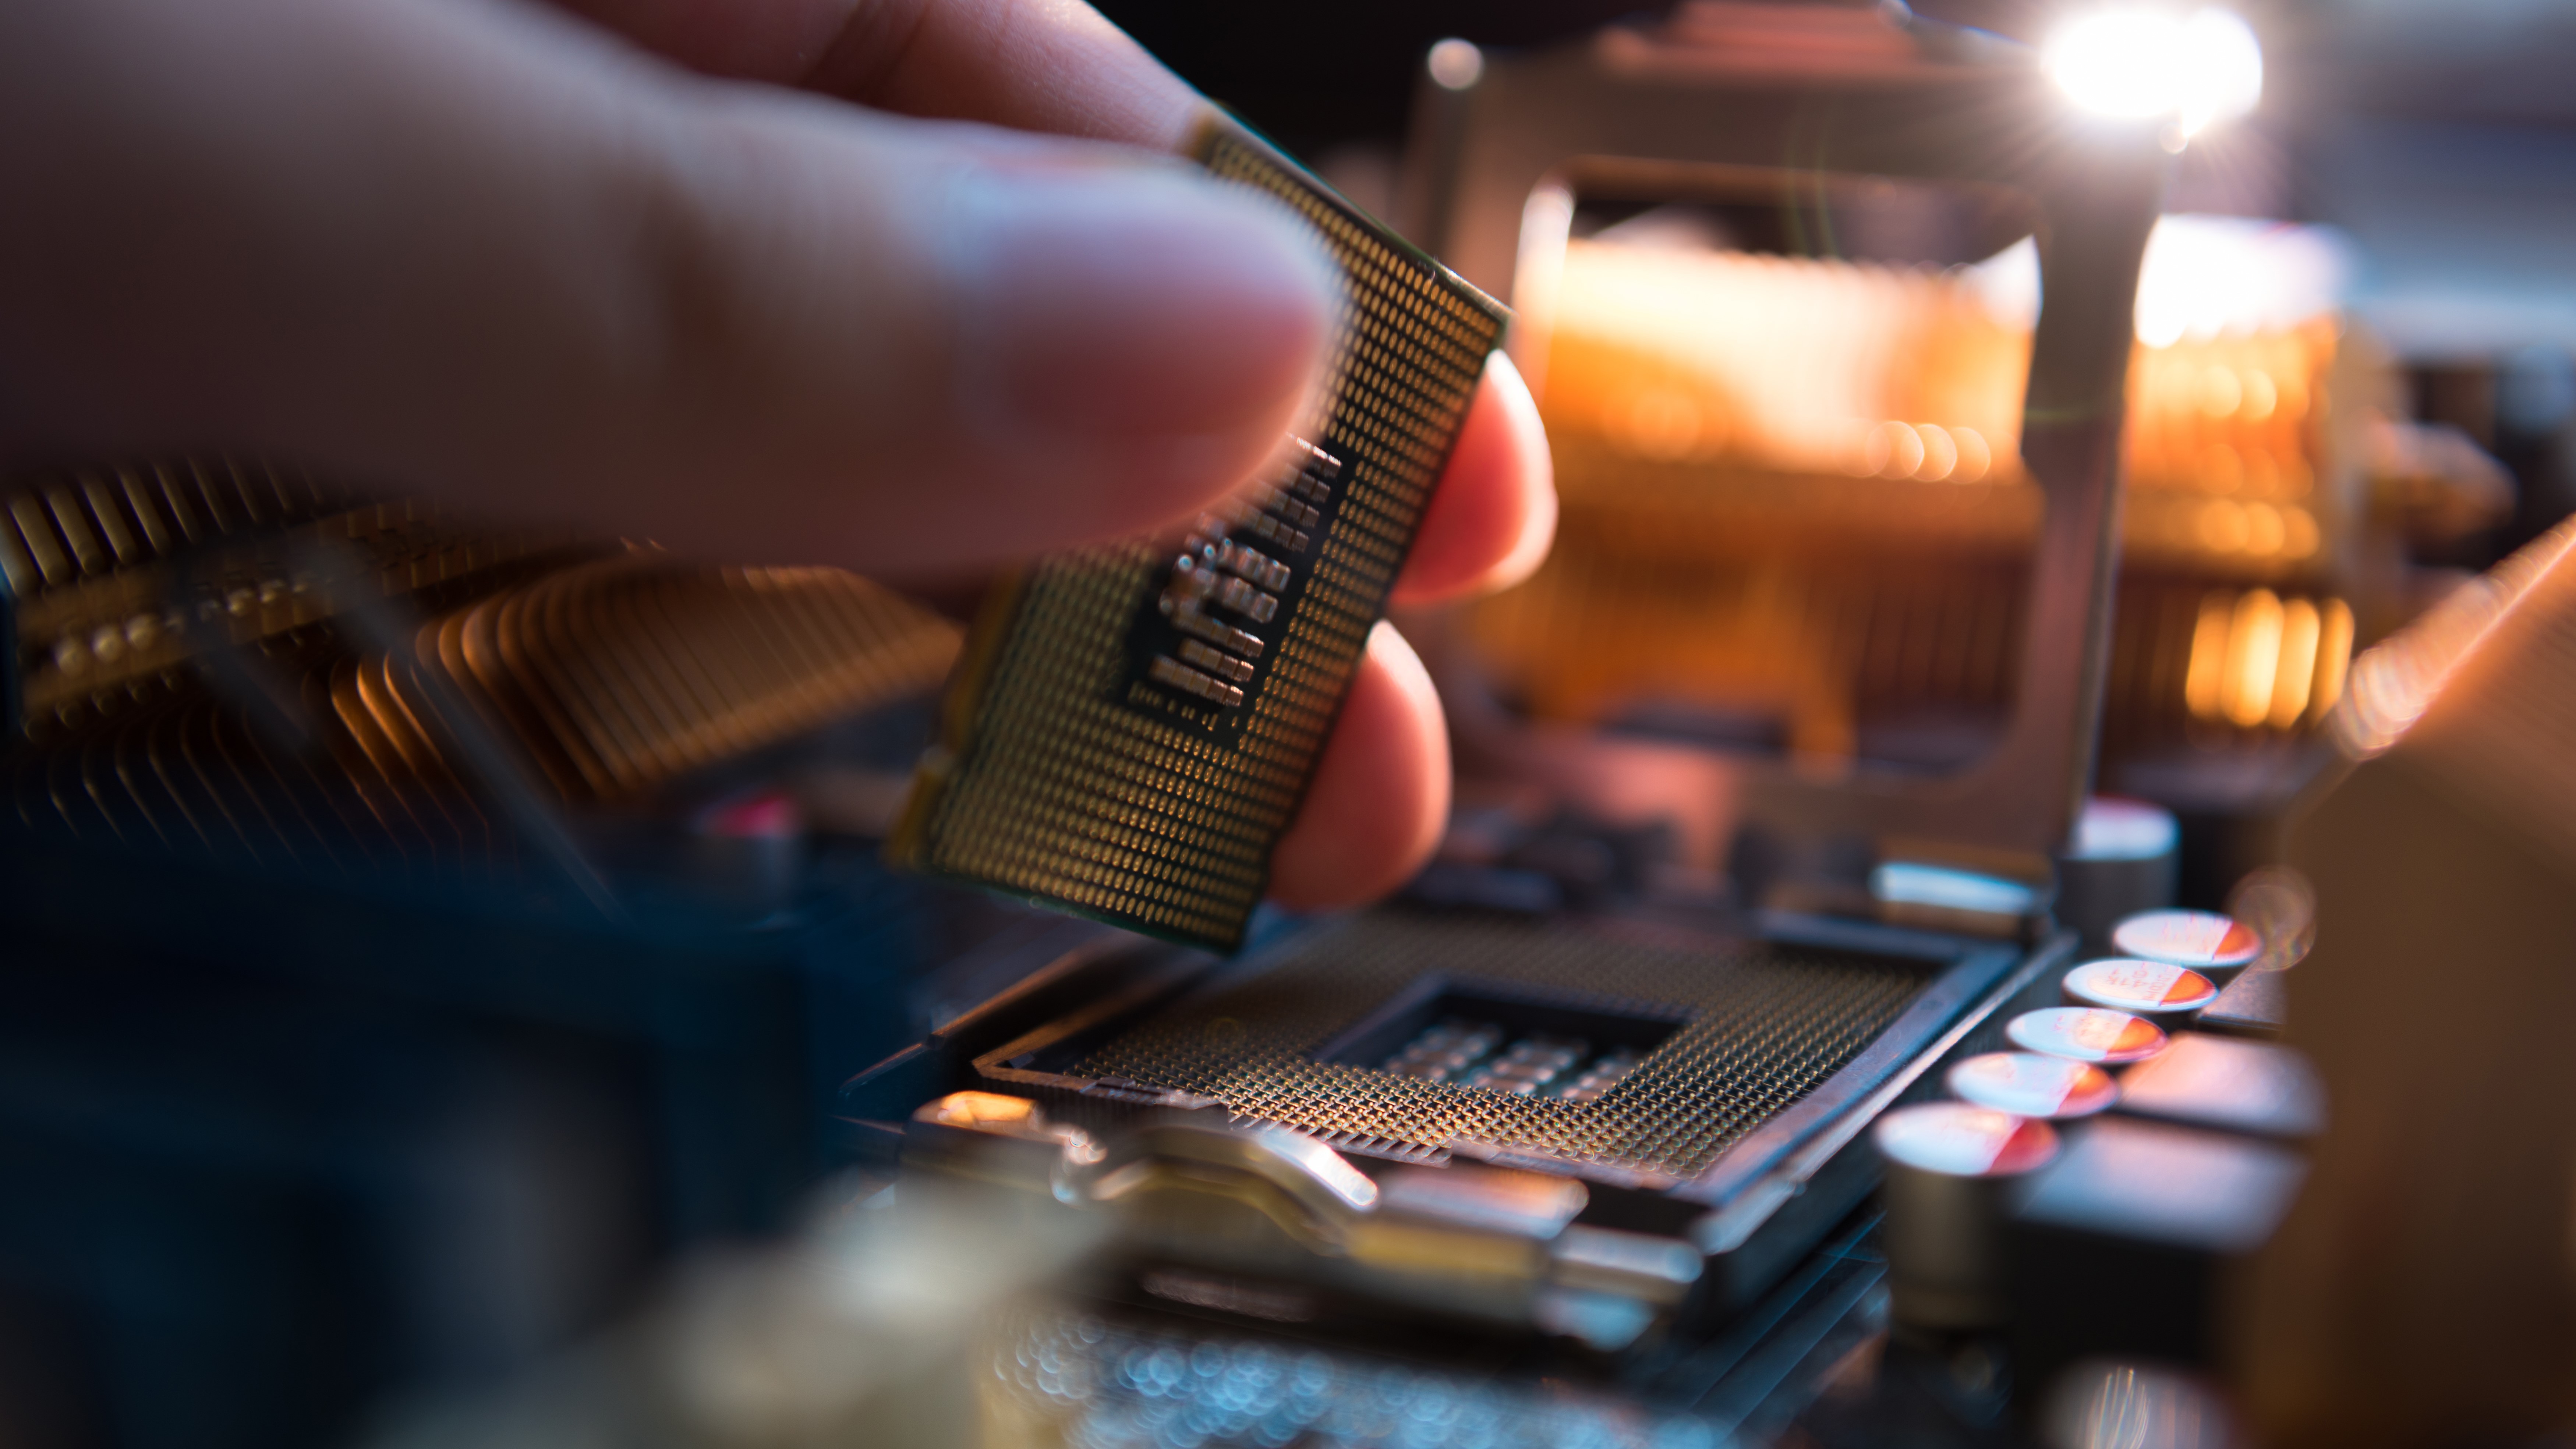
Mining is a process that can be done using different parts of your computer. These can be either the CPU, GPU or even your Hard Disk.
You heard that right, on networks such as Filecoin or Arweave your HDD is used to earn coins. What component is used for mining depends on the consensus mechanism of the specific chain.
The consensus mechanism dictates how transactions are validated on a blockchain such as Evmos. Generally, the primary components used for mining are the CPU and the GPU.
The term CPU stands for “Central Processing Unit”. It is considered the brain of the computer because it does most of the computations. The GPU aka “Graphics Processing Unit” is more powerful than the CPU. This makes it more suitable for mining coins like Bitcoin or Litecoin.
How does mining work?
Mining is a process first implemented in Bitcoin’s Proof of Work consensus algorithm. During the first years, you could mine coins using a home computer or even a laptop. Today, that situation has changed.
Since its inception, mining has rapidly evolved and requires dedicated hardware that’s much powerful than a PC. As more computers join a network the hashrate increases, which means more processing power is needed to validate blocks. This is the case with the most known PoW chain — Bitcoin.
Because of this, miners have switched from using normal computers to highly specialized hardware called ASICs. ASIC is an abbreviated term and means “Application Specialized Integrated Circuit”.
This gives us little information about what they actually are, so let’s dig in. It may sound confusing at first, but the difference between a computer and an ASIC is quite simple.
A computer can do many different operations, but ASICs are built only for mining-specific computations. They are expensive, hard to configure, do not have a screen, and you can’t game on them.
That’s a bummer, so what does an ASIC actually do?
ASICs are noisy, ugly looking boxes that can only perform tasks for a specific chain based on the algorithm they were created for. The specific tasks we refer to are the ones necessary for mining blocks and getting coins. They are also power hungry and consume a lot of energy.
Take Bitmain's Antminer S19 Pro for example, considered to be the best mining rig currently on the market. What does it do? It sits there and makes you money, or Bitcoin to be specific.
In short, a Bitmain Antminer plugs into your wall socket and prints BTC by mining blocks. Buying such a behemoth will add 3.25 kWh to your electricity bill.
If you leave it running daily for 365 days one single device will consume around 28,470 kWh in a year. That’s triple the average annual electricity intake of an 🇺🇸 household. Now imagine thousands of machines running around the world and you get the electricity consumption of an entire country.
So you’re telling me that mining crypto consumes a lot of energy, but how much exactly? Well, it shouldn’t make you surprised to hear that the whole Bitcoin network consumes more energy than countries like Norway, Greece or Switzerland.
This is the reason why many Proof of Work blockchains such as Bitcoin and Litecoin have received backlash for their environmental impact.
Thankfully, the mining industry is integrating more renewable energy sources like wind, solar and hydroelectric. It is estimated that Bitcoin’s use of renewables range from about 40% to almost 75%. These numbers are expected to rise over the next years as renewable energy becomes cheaper.
On top of massive energy requirements, miners are faced with another challenge. ASICs have to be upgraded each year and they become obsolete very fast. The price for such mining devices starts from $2,000 and can easily reach $17,000 if you want the most powerful ASIC hardware.
Due to electricity costs it’s tough to remain profitable while mining, and even the best miners have trouble in that aspect.
Let’s get back to Evmos and see how to make money on it. Is it possible to mine Evmos on your computer?
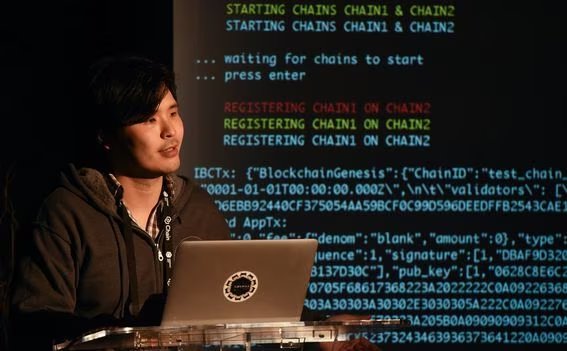
Evmos’s (EVMOS) consensus mechanism is based on Proof of Stake. This is different from Proof of Work, where mining is used as the method for securing the chain.
Proof of Stake has validator nodes instead of miners, which do not mine but validate transactions. Validator nodes can run on almost any device and require much less processing power than their Proof of Work counterparts.
Because of this, energy consumption is also much lower on PoS chains — while maintaining the same security guarantees. On the Evmos (EVMOS) chain, blocks are created by validators who stake EVMOS to secure the chain.
Validators run validator nodes, stake their EVMOS coins and make sure their node stays online and does the validation work. Besides running a validator node, there’s also easier ways to stake Evmos without having to set up your own infrastructure.
In conclusion, you cannot mine Evmos because it is not a Proof of Work blockchain and no mining is done.
You can however stake EVMOS tokens and become a validator or delegator, let’s see how that works!
How to stake Evmos (EVMOS)?
We’re now getting to the good part, making money by staking your EVMOS tokens.
EVMOS staking can be done in a few different ways. Each method has its own advantages based on your specific needs. Let’s explore what a staking node is, how Evmos can be staked at home, and what a staking provider is.
Staking Evmos yourself is a tedious process that involves a few different steps. In order to stake Evmos (EVMOS) first you have to set up a validator node. Some online resources refer to validator nodes as staking nodes, they’re the same thing.
In plain terms a validator node is a program that runs on a computer, either locally or in the cloud. As their name suggests, validator nodes keep the network secure by validating transactions. For their service, validators receive a reward in EVMOS tokens.
The most important steps for setting up an Evmos node at home are: setting up the software, connecting it to the network, and securing your keys. This has a lot of potential for mistakes and can result in your tokens being stolen or lost forever.
To use your EVMOS for validating transactions on the Evmos network, you need to lock them as a guarantee. This “guarantee” (aka stake) exists to make sure Evmos validators act in good faith and only mine valid transactions.
The process of running a validator node by yourself is not an easy one for multiple reasons. Staking Evmos also requires your node to be online at all times, otherwise you will get penalized and lose part of your staked tokens (also known as slashing).
Validators that go offline or try to attack the network have a portion of their staked tokens taken away. As noted before this mechanism is called “slashing” and it’s a term used in all Proof of Stake blockchains.
On chains such as Evmos, slashing is the primary way of making sure validators act honestly. Slashing is an action done by the network itself, no single person or validator can decide to slash another validator.
Unlike most blockchains, no minimum stake of $EVMOS tokens is required for the network to let you validate transactions. While running a validator node, tokens are locked (staked) and cannot be transferred.
Unlocking the EVMOS tokens has a cooldown period of 14 days. After 14 days validators can withdraw their EVMOS coins to their wallet. You may want your EVMOS tokens to be easily accessible in the event of a crash or market pump. In this case, staking with a provider is the best option as the cooldown period is very small or 0.
So, if you’re looking to set up a node at home always keep in mind that your stake is locked and cannot be withdrawn until the cooldown period has ended.
Even with some drawbacks, setting up a validator node at home is beneficial for the network and promotes decentralization. However, do not forget that you need to make sure your node is always up to date and online. Missing an update or having your connection go down for a longer period or time will result in slashing (losing tokens).
Staking at home should only be done by experienced users that can keep an eye on their staking software at all times. The most up to date resources for staking Evmos at home can be found at Evmos' documentation.
Staking your EVMOS at home is not for everyone — fortunately it’s not the only way of earning more Evmos tokens.
If you do not wish to go through the hassle of setting up and configuring an Evmos node we have good news for you — there’s a couple of easier ways to do it! Some websites, also called staking providers, offer a service called “staking as a service”.
Staking as a service means you can stake your EVMOS tokens without setting up a server or node. Staking providers operate the infrastructure needed for staking Evmos and receive a small portion of the EVMOS reward.
There’s no fee for staking on an exchange, the provider/exchange only takes a very small cut from the profit. If you’re looking to stake with a provider, there’s a few places where you can stake Evmos (EVMOS) in a safe way.
Currently, the most trusted places to stake Evmos (EVMOS) are MyCointainer and Binance.
Exchanges, especially major exchanges like the ones mentioned above have an insurance policy to protect user’s funds in case of hacks or other events. Both exchanges provide an APY between 4% and 8% for staking your EVMOS tokens with them.
To stake Evmos on MyCointainer or Binance you only need to create an account and deposit your coins.
Staking on an exchange is the best solution if you want the process to be easy and safe.
Where to stake Evmos (EVMOS) — A Comparison
Stake EVMOS at Home (Hard)
Drawbacks: Hardest. Prone to failure and losing tokens.
Benefits: Most decentralized.
Join an Evmos Staking Pool (Moderate)
The biggest Evmos staking pools are Comostation and Frens Validator 🤝
Cosmostation operates validator nodes across the Comos Hub with over $20 million in assets staked collectively from various blockchains. Cosmostation also develops and maintains powerful end-user applications supporting networks built with Tendermint. The APY for staking EVMOS with Cosmostation is around 255%.
Frens Validator 🤝 is an infrastructure company for Proof-of-Stake blockchains – primarily Cosmos. Besides running nodes and securing blockchains, they provide an education platform for their stakers to get started in Web3 and Cosmos. The APY for staking EVMOS with Frens Validator is around 255%.
Drawbacks: Moderate difficulty. Takes time to unlock your tokens.
Benefits: A good balance between simplicity and decentralization.
Evmos Staking as a Service (Easy)
Drawbacks: Funds are delegated to an operator.
Benefits: Easiest. Instant token unlock.
Evmos Staking FAQ
How can I stake Evmos (EVMOS) tokens?
Staking Evmos can be done by running a node, joining a pool, or using a staking service.
Can you stake Evmos (EVMOS) on Coinbase?
No, staking Evmos is not supported on Coinbase.
However, other exchanges such as MyCointainer and Binance offer seamless EVMOS staking services.
Can you stake Evmos (EVMOS) on Kraken?
No, staking Evmos is not supported on Kraken.
However, other exchanges such as MyCointainer and Binance offer seamless EVMOS staking services.
Can you stake Evmos (EVMOS) on Binance?
Yes, Binance does offer staking as a service for Evmos.
Staking EVMOS on Binance is as easy as creating an account and depositing your Evmos tokens.
Can you stake Evmos (EVMOS) on Kucoin?
No, staking Evmos is not supported on Kucoin.
However, other exchanges such as MyCointainer and Binance offer seamless EVMOS staking services.
Can you stake Evmos (EVMOS) on Robinhood?
No, staking Evmos is not supported on Robinhood.
However, other exchanges such as Coinbase and Binance offer seamless EVMOS staking services.